Introduction
Hello, fellow Android enthusiasts, you can install “Android Studio” on Ubuntu 16.04/17.10/18.04 by not just one method we have multiple ways to install it. Android Studio is the official integrated development environment (IDE) for Google’s Android operating system which specifically designed for Android development. Let see how to perform the installations on Ubuntu Linux.
Minimum System Requirements
Disk Space 4 GB
Memory 8 GB
Screen Resolution 1200 x 800
OS Arch 64 bit (capable of running 32-bit type applications)
We about see how to perform an installation of the Android studio using the following methods:
- Through snapd
- Through Ubuntu Software centre
- Download and install from the official android studio website
- Through umake
Installing Java for Android Studio
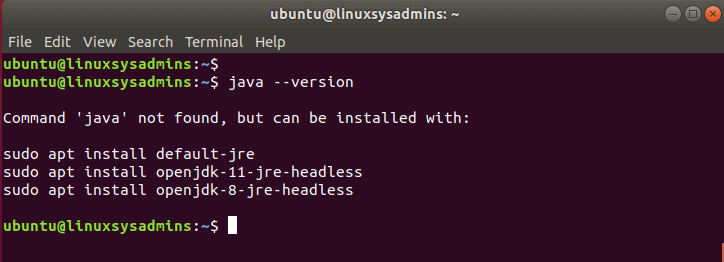
Before starting with Android studio we need to resolve the required prerequisites and dependencies, Verify and install the Java if already not existed in your server.
$ java --version
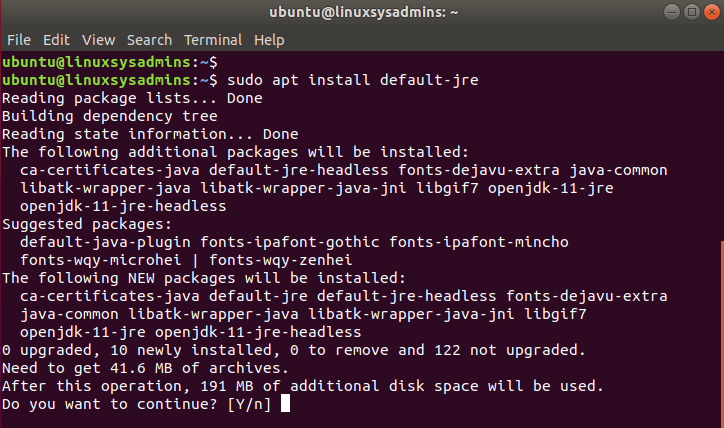
$ sudo apt install default-jre
$ sudo apt install default-jdk
By following install default Java JRE.
We need to have a JDK package as well.

Verify the installed Java and compiler version.
$ java --version
$ javac --version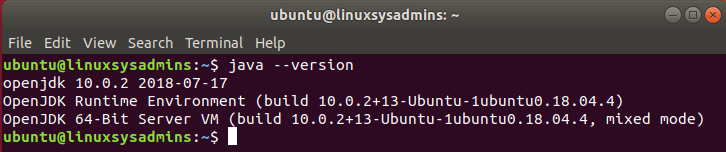

Method 1: Installing Android Studio through snapd
One of the simplest ways to install android studio is via snapd from CLI, Simply see the below installation method using snapd utility:
$ sudo apt-get install snapd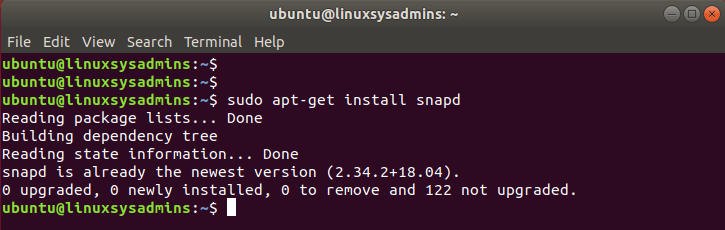
After installing snapd, you can install android studio by the following command with “–classic” option.
$ sudo snap install android-studio --classic
Method 2: Install from Ubuntu Software centre
Refresh repository
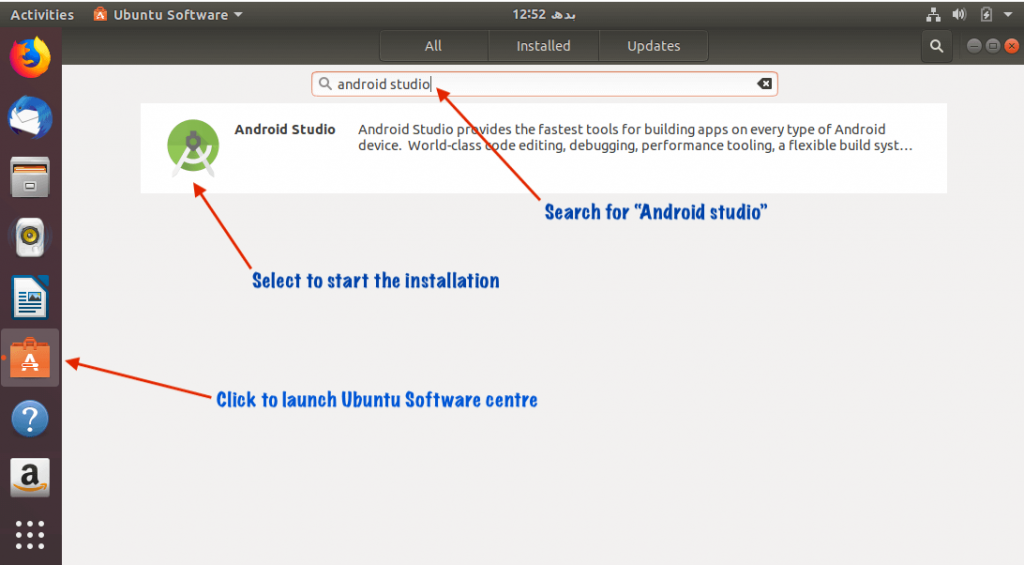
In case if you are not familiar with running multiple commands using terminal another easiest way to install the Android studio can be accomplished from Ubuntu Software Centre. Before installing from Ubuntu Software centre just refresh the repositories using “apt-get update” from the command line.
$ sudo apt-get update

Search for Package
Go to Ubuntu software centre and search by name “android studio” and simply install it from there
Method 3: Installing Android Studio from the official website
To get the up-to-date package and make sure to get from a trusted source we can download and install Android studio from the official website by clicking on below URL.

Extracting the downloaded package
Unzip the downloaded zip file. In my case I am extracting it in /opt directory:
$ sudo unzip android-studio-ide-181.5056338-linux.zip –d /opt
Start the Android Studio
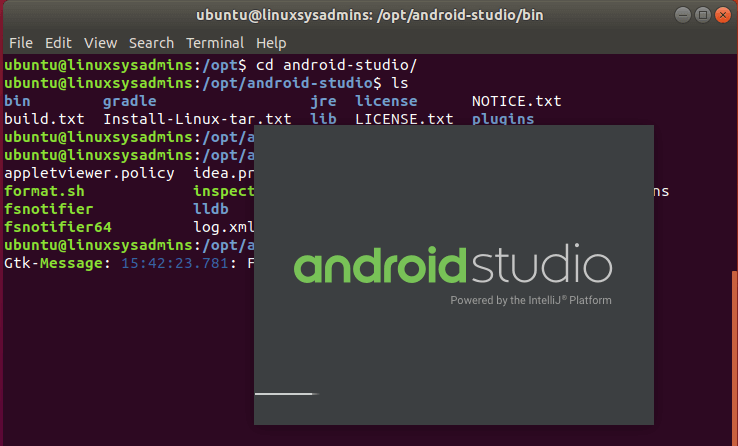
You can see below that it has been extracted successfully under /opt. By following navigate to the extracted directory and run the “studio.sh” script to start the installation.
$ cd /opt/android-studio/bin
$ ./studio.sh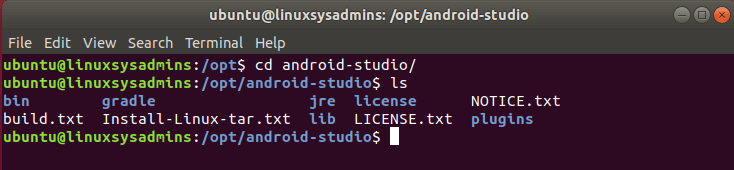
Now the android studio is initializing for the first time.
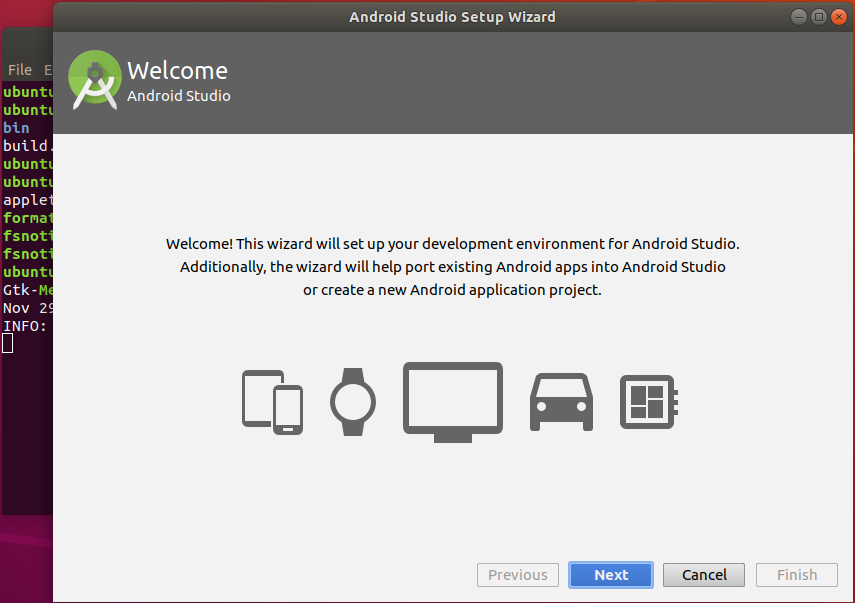
Android Setup Wizard
Creating a Desktop Icon
During the setup wizard, it will download the necessary components, Once done with it you can use the android studio and get back to the work.
Finally, Click Configure -> Create Desktop Entry, to create an entry on the dashboard.
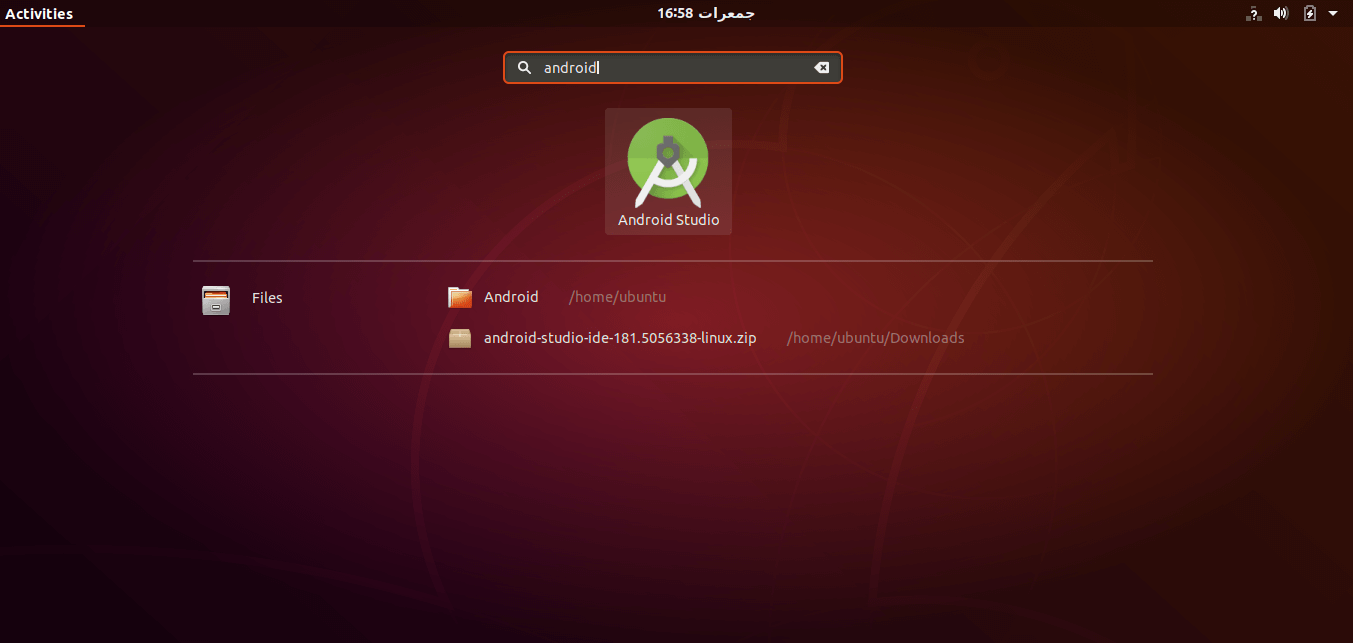
Now you can access the android studio by searching it in applications.
Great, Android Studio has been installed successfully.
Method 4: Installing the Android studio through umake.
Install Ubuntu-make CLI tool
Ubuntu makes is a command-line tool will allow us to install developer tools in our servers. Ubuntu Make is already included and available from official Ubuntu repositories.
$ sudo apt update
$ sudo apt install ubuntu-make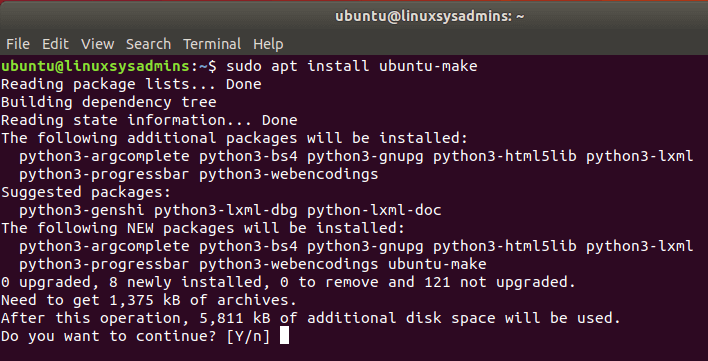
Verify the version
For this the version of umake version 16.05 is required, you can verify the version by running the below command.
$ umake --versionIf not then simply install umake by the following process by adding PPA repository and refreshing the repo.
Enable the Repository
$ sudo add-apt-repository ppa:ubuntu-desktop/ubuntu-make
$ sudo apt update
$ sudo apt install ubuntu-make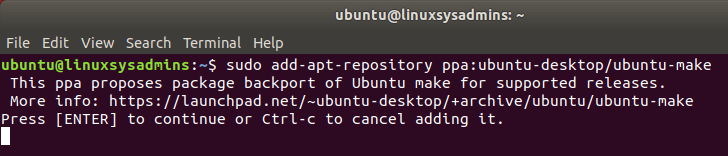
Update cache and Install Android studio
After installing the Ubuntu-make, start to install the android using umake. During the installation make sure to specify the android studio installation path.
$ sudo apt-get update
$ umake android
Time to grab some coffee as it will take some time to download and install the android studio for you.
Conclusion
You can install android studio by any one of the above methods, And start working on amazing projects. Hope this helps you to set up Android Studio on Ubuntu Linux. Subscribe to our newsletter to keep up-to-date with our upcoming articles.