
Introduction
Asset Management is a key requirement in any small to large scale organizations. If you are looking to set up an Opensource Asset Management software to manage your infrastructure assets then you are in right guide to setup one. we will be working on GLPI Asset Management Tool. We have updated this guide to the current version available in 2019. This guide tested on both RHEL and Cent-OS 7/8 based operating systems.
GLPI asset Management enabled with features like IT inventory, asset and mobile device management. It supports most of all IT products like Servers, PCs, printers, monitors, software’s, routers, switches etc.
The business-ready setup with ITIL V2 compatible service desk, Automatic Inventory, Data Quality control, Software and licence inventory management, KB, Statistics and report, Financial Management of IT assets and much more.
How-to Video Guide on GLPI Asset Management
Above video guide created on an old version of GLPI, However, the steps are the same as below one.
Enable Required Repositories
Enable EPEL, REMI and MySQL Repositories. EPEL repositories are used to get a few PHP modules. Remi repository provides PHP 7.3 package and 98% of its modules. Finally, we are receiving the MySQL community edition from its official repository.
# yum install -y https://dl.fedoraproject.org/pub/epel/epel-release-latest-7.noarch.rpm
# yum install -y http://rpms.remirepo.net/enterprise/remi-release-7.rpm
# yum install -y https://dev.mysql.com/get/mysql57-community-release-el7-9.noarch.rpm
Install a few dependencies to make our work easier throughout the installation.
# yum install -y yum-utils wget vim curl net-tools
Set Hostname
First of all, we need to set a proper host-name for our asset management system. Resolve the name from a valid DNS server or put an entry in localhost /etc/hosts.
# hostnamectl set-hostname glpi.linuxsysadmins.local
SELinux Configuration
While Install and configure the GLPI let us use the SELinux to enforcing mode.
# sestatus
If you are not good with SE-Linux to go through our guide. How to start using SELinux or Security-Enhanced Linux
Configure SELinux Booleans
Set SELinux Boolean value for can network traffic, And start the LAMP stack.
# setsebool -P httpd_can_network_connect on
# setsebool -P httpd_can_network_connect_db on
# setsebool -P httpd_can_sendmail on
# setsebool -P httpd_unified 1
# getsebool -a | grep httpd_can_network_
[root@glpi ~]# getsebool -a | grep httpd_can_network_
httpd_can_network_connect --> on
httpd_can_network_connect_db --> on
httpd_can_sendmail --> on
Firewall Configuration
In our demonstration we are using Public zone, Allow HTTP and https traffic under Public Zone.
# firewall-cmd --zone=public --permanent --add-service=http
# firewall-cmd --zone=public --permanent --add-service=https
# firewall-cmd --zone=public --permanent --add-service=mysql
# firewall-cmd --reload
LAMP Installation
To run with GLPI we required LAMP server up and running. Let start to set up the LAMP server. We are using PHP 7.3 version and MySQL community edition 5.7.27. Below listed PHP modules are required by GLPI.
# yum install httpd -y
# yum install mysql-community-server \
 php73-php \
 php73-php-json \
 php73-php-mbstring \
 php73-php-mysqlnd \
 php73-php-cli \
 php73-php-xml \
 php73-php-gd \
 php73-php-imap \
 php73-php-ldap \
 php73-php-intl \
 php73-php-common \
 php73-php-opcache \
 php73-php-pecl-apcu \
 php73-php-pecl-apcu-bc \
 php73-php-xmlrpc \
 php-pear-CAS \
 php73
Once completed with MySQL installation we need to locate the random password created by the MySQL installer.
# grep password /var/log/mysqld.log
This is the password created by the installer.
u;jgvQuFy3si
[root@glip ~]# grep password /var/log/mysqld.log
 2019-08-17T03:51:35.267108Z 5 [Note] [MY-010454] [Server] A temporary password is generated for root@localhost: u;jgvQuFy3si
 [root@glip ~]#
Configure the LAMP and Start the Apache Service
Backup the original Apache configuration file before making any changes.
# cp -v /etc/httpd/conf/httpd.conf /etc/httpd/conf/httpd.conf-bkp17082019
Edit the apache configuration to amend allow override all.
# vi /etc/httpd/conf/httpd.conf
AllowOverride All
Look for below actual configuration underline number 152.
<Directory "/var/www/html">
    Options Indexes FollowSymLinks
    AllowOverride None
    Require all granted
</Directory>
Make the changes by making a copy of the original line as shown below.
<Directory "/var/www/html">
    Options Indexes FollowSymLinks
    # AllowOverride None
    AllowOverride All
    Require all granted
</Directory>
While completing with Apache configuration enable and start the service.
# systemctl start httpd
# systemctl enable httpd
# systemctl status httpd
Apache service up and running.
[root@glpi ~]# systemctl status httpd
 ● httpd.service - The Apache HTTP Server
    Loaded: loaded (/usr/lib/systemd/system/httpd.service; enabled; vendor preset: disabled)
    Active: active (running) since Fri 2019-08-16 17:00:01 +04; 4s ago
      Docs: man:httpd(8)
            man:apachectl(8)
   Process: 57420 ExecStop=/bin/kill -WINCH ${MAINPID} (code=exited, status=0/SUCCESS)
  Main PID: 57424 (httpd)
    Status: "Processing requests…"
    CGroup: /system.slice/httpd.service
            ├─57424 /usr/sbin/httpd -DFOREGROUND
            ├─57425 /usr/sbin/httpd -DFOREGROUND
            ├─57426 /usr/sbin/httpd -DFOREGROUND
            ├─57427 /usr/sbin/httpd -DFOREGROUND
            ├─57428 /usr/sbin/httpd -DFOREGROUND
            └─57429 /usr/sbin/httpd -DFOREGROUND
 Aug 16 16:59:40 glpi.linuxsysadmins.com systemd[1]: Starting The Apache HTTP Server…
 Aug 16 17:00:01 glpi.linuxsysadmins.com systemd[1]: Started The Apache HTTP Server.
 [root@glpi ~]#
Start and Enable MariaDB to Initialize MySQL
Enabling and starting the MySQL service to carry forward with initializing the database.
# systemctl start mysqld
# systemctl enable mysqld
# systemctl status mysqld
Initialize MySQL using below command and secure from the default configuration. It will prompt for the password, provide the password found in the log file.
# mysql_secure_installation
Remove the anonymous users and set a root password to secure our MySQL setup.
[root@glpi ~]# mysql_secure_installation
 Securing the MySQL server deployment.
 Enter password for user root:
 The existing password for the user account root has expired. Please set a new password.
 New password:
 Re-enter new password:
 The 'validate_password' component is installed on the server.
 The subsequent steps will run with the existing configuration
 of the component.
 Using existing password for root.
 Estimated strength of the password: 100
 Change the password for root ? ((Press y|Y for Yes, any other key for No) : N
 … skipping.
 By default, a MySQL installation has an anonymous user,
 allowing anyone to log into MySQL without having to have
 a user account created for them. This is intended only for
 testing, and to make the installation go a bit smoother.
 You should remove them before moving into a production
 environment.
 Remove anonymous users? (Press y|Y for Yes, any other key for No) : Y
 Success.
 Normally, root should only be allowed to connect from
 'localhost'. This ensures that someone cannot guess at
 the root password from the network.
 Disallow root login remotely? (Press y|Y for Yes, any other key for No) : Y
 Success.
 By default, MySQL comes with a database named 'test' that
 anyone can access. This is also intended only for testing,
 and should be removed before moving into a production
 environment.
 Remove test database and access to it? (Press y|Y for Yes, any other key for No) : Y
 Dropping test database…
 Success.
 Removing privileges on test database…
 Success.
 Reloading the privilege tables will ensure that all changes
 made so far will take effect immediately.
 Reload privilege tables now? (Press y|Y for Yes, any other key for No) : Y
 Success.
 All done!
[root@glpi ~]#
Create the GLPI Database
Login to the MySQL and start to create the database.
# mysql -u root -p
 CREATE DATABASE glpi_db;
 CREATE USER 'glpi_user'@'localhost' IDENTIFIED BY 'Redhat@123';
 GRANT ALL PRIVILEGES ON glpi_db.* TO 'glpi_user'@'localhost' WITH GRANT OPTION;
 FLUSH PRIVILEGES;
Once completed with creating the database print and verify by running “show databases;“
[root@glpi ~]# mysql -u root -p
 Enter password:
 Welcome to the MySQL monitor.  Commands end with ; or \g.
 Your MySQL connection id is 18
 Server version: 5.7.27 MySQL Community Server - GPL
 Copyright (c) 2000, 2019, Oracle and/or its affiliates. All rights reserved.
 Oracle is a registered trademark of Oracle Corporation and/or its
 affiliates. Other names may be trademarks of their respective
 owners.
 Type 'help;' or '\h' for help. Type '\c' to clear the current input statement.
 mysql> CREATE DATABASE glpi_db;
 Query OK, 1 row affected (0.01 sec)
 mysql> CREATE USER 'glpi_user'@'localhost' IDENTIFIED BY 'Redhat@123';
 Query OK, 0 rows affected (0.01 sec)
 mysql> GRANT ALL PRIVILEGES ON glpi_db.* TO 'glpi_user'@'localhost' WITH GRANT OPTION;
 Query OK, 0 rows affected (0.00 sec)
 mysql> FLUSH PRIVILEGES;
 Query OK, 0 rows affected (0.02 sec)
 mysql> show databases;
 +--------------------+
 | Database           |
 +--------------------+
 | glpi_db            |
 | information_schema |
 | mysql              |
 | performance_schema |
 | sys                |
 +--------------------+
 5 rows in set (0.00 sec)
 mysql>
 mysql> exit;
 Bye
[root@glpi ~]#
Download GLPI
Download the GLPI from the official website or from the GitHub releases page.
https://glpi-project.org/downloads/
https://github.com/glpi-project/glpi/releases
We are downloading from GitHub. While updating this article this is the latest available version.
# wget https://github.com/glpi-project/glpi/releases/download/9.4.3/glpi-9.4.3.tgz
Extract and Move to Web Document Root
After completing with the download extract the tar file.
# tar zxvf glpi-9.4.3.tgz
Navigate to the extracted location and move the extracted contents to the apache document root /var/www/html. Make sure to move the .htaccess file as well.
[root@glpi ~]# ls
 anaconda-ks.cfg  glpi  glpi-9.4.3.tgz
 [root@glpi ~]#
 [root@glpi ~]#
 [root@glpi ~]# cd glpi/
 [root@glpi glpi]# mv * /var/www/html/
 [root@glpi glpi]mv .htaccess /var/www/html/
In upcoming steps, we need to change the permission and ownership for a few directories. Right now all the files have UID 1000.
[root@glpi glpi]# ls -lthr /var/www/html/
 total 236K
 -rw-rw-r--.  1 1000 1000 6.4K Jun 20 17:06 status.php
 drwxrwxr-x.  2 1000 1000  158 Jun 20 17:06 sound
 drwxrwxr-x.  3 1000 1000  180 Jun 20 17:06 scripts
 drwxrwxr-x.  2 1000 1000   24 Jun 20 17:06 plugins
 drwxrwxr-x.  7 1000 1000 4.0K Jun 20 17:06 pics
 drwxrwxr-x.  2 1000 1000 4.0K Jun 20 17:06 locales
 drwxrwxr-x. 16 1000 1000 4.0K Jun 20 17:06 lib
 drwxrwxr-x.  3 1000 1000 4.0K Jun 20 17:06 install
 -rw-rw-r--.  1 1000 1000 7.4K Jun 20 17:06 index.php
 drwxrwxr-x.  5 1000 1000  24K Jun 20 17:06 inc
 drwxrwxr-x.  2 1000 1000  20K Jun 20 17:06 front
 drwxrwxr-x. 14 1000 1000  194 Jun 20 17:06 files
 drwxrwxr-x.  2 1000 1000   23 Jun 20 17:06 config
 drwxrwxr-x.  2 1000 1000   21 Jun 20 17:06 bin
 -rw-rw-r--.  1 1000 1000 1.4K Jun 20 17:06 apixmlrpc.php
 -rw-rw-r--.  1 1000 1000 1.5K Jun 20 17:06 apirest.php
 -rw-rw-r--.  1 1000 1000  50K Jun 20 17:06 apirest.md
 drwxrwxr-x.  2 1000 1000 4.0K Jun 20 17:06 ajax
 -rw-rw-r--.  1 1000 1000  481 Jun 20 17:06 SUPPORT.md
 -rw-rw-r--.  1 1000 1000 5.6K Jun 20 17:06 README.md
 -rw-rw-r--.  1 1000 1000  18K Jun 20 17:06 COPYING.txt
 -rw-rw-r--.  1 1000 1000 1.9K Jun 20 17:06 CONTRIBUTING.md
 -rw-rw-r--.  1 1000 1000  20K Jun 20 17:06 CHANGELOG.md
 drwxrwxr-x. 19 1000 1000 4.0K Jun 20 17:06 vendor
 drwxrwxr-x.  2 1000 1000 4.0K Jun 20 17:06 js
 drwxrwxr-x.  4 1000 1000 4.0K Jun 20 17:06 css
[root@glpi glpi]#
Set Ownership and Permission
To save the files and configuration we need to have write access on those directories., change the ownership and provide write access to required directories.
# cd /var/www/html/
# chmod -R +w files/
# chmod -R +w config/
# chown -R apache:apache files/
# chown -R apache:apache config/
# chown -R apache:apache /var/www/html/files/_log/
Restore its SELinux context to original state as per its current location by running
# restorecon -Rv /var/www/html/*
# restorecon -Rv /var/www/html/.htacces
Start Setup from Web Interface GUI
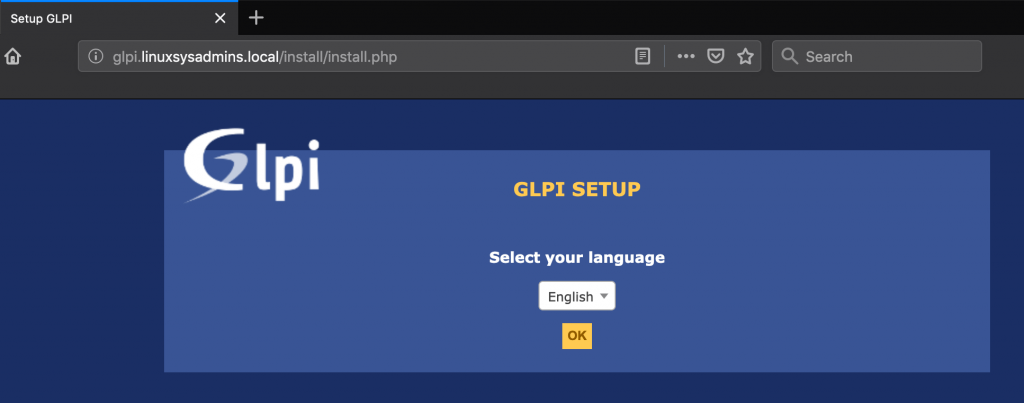
Launch anyone of web browser, In my case, I’m using Firefox. Navigate to glpi.linuxsysadmins.local.
If your language is different from English choose it from the list and click OK to continue.
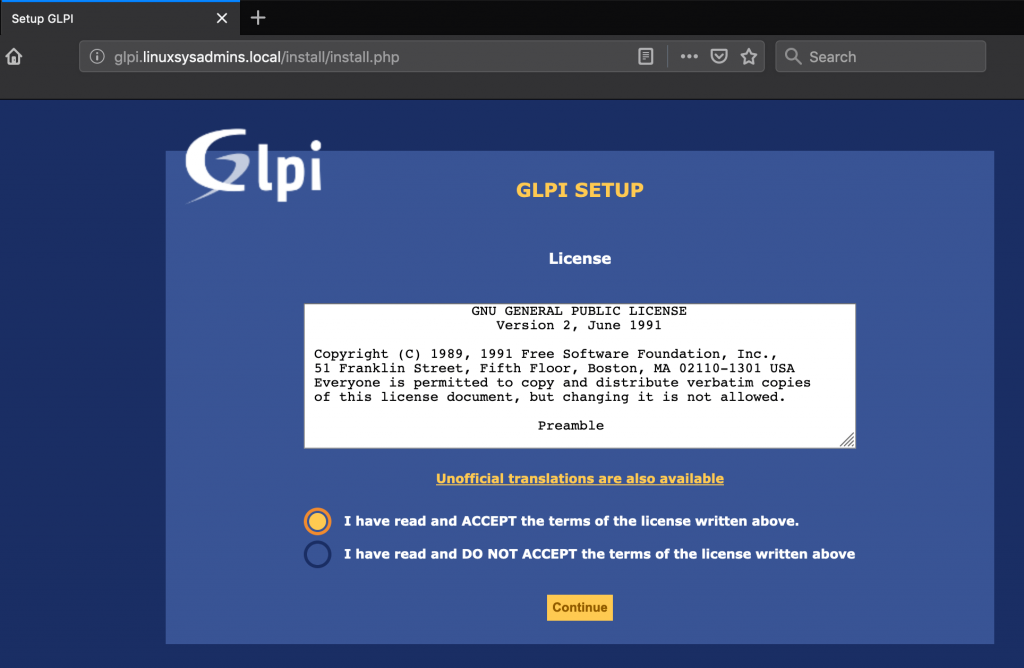
Accept the terms and condition by accepting the licence. Click on I have read, then click on Continue to move forward.
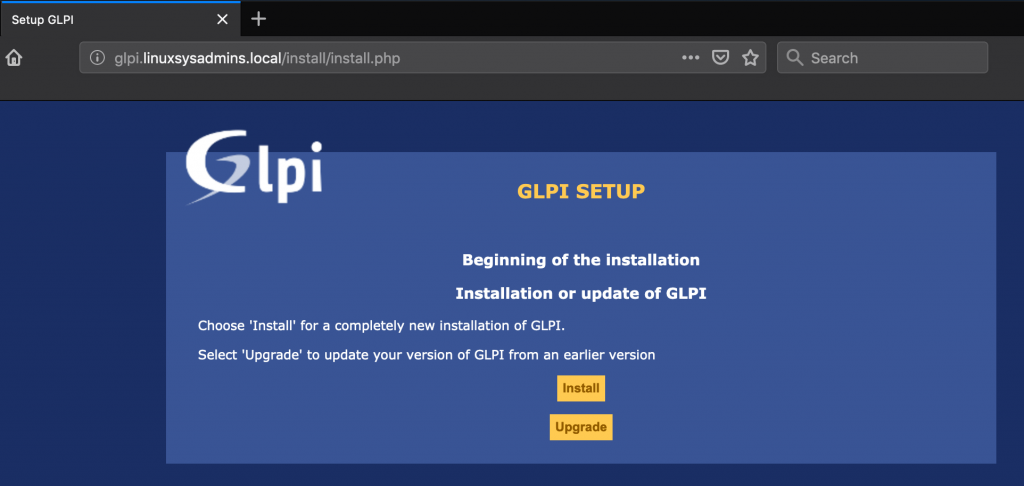
To begin the installation click on Install.
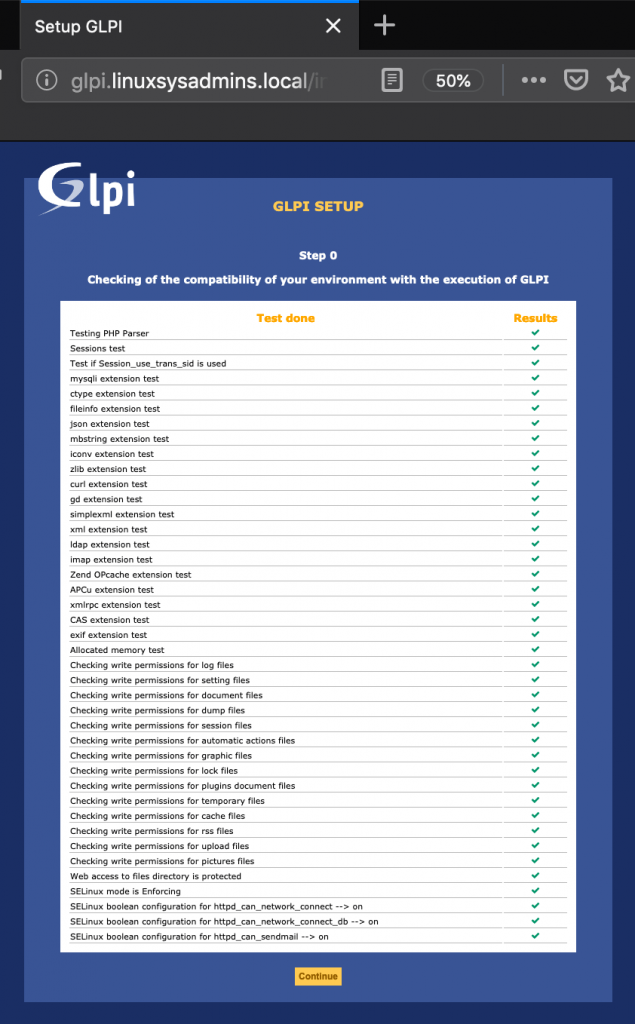
If you have not skipped any of the above steps you may not see any failed status here. Everything looks good under Results. Click Continue to carry forward with the installation.
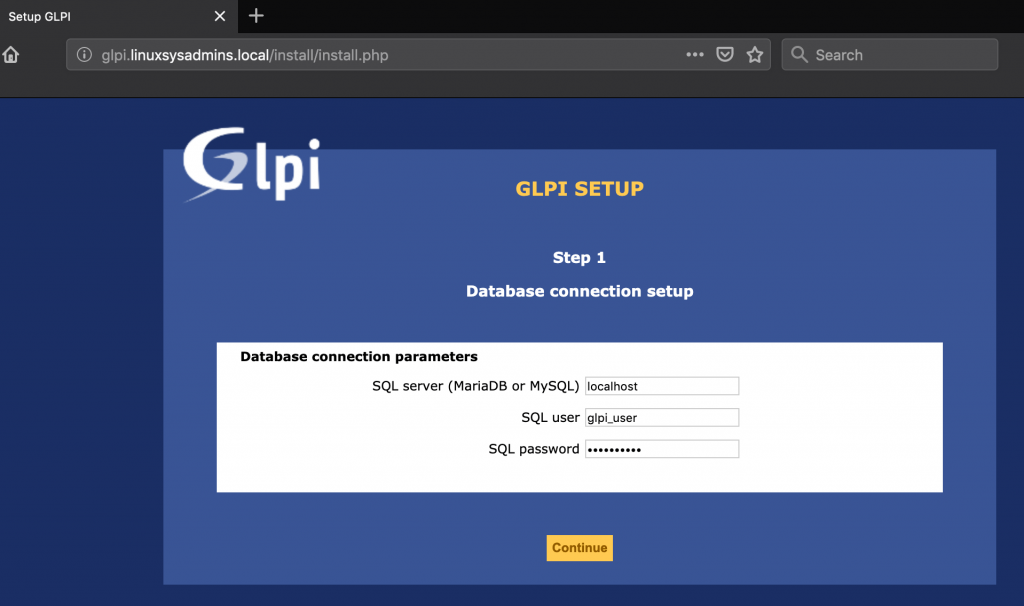
Here, we need to provide the server where MySQL installed. In our case, we have installed and configured in the same server where we are installing GLPI so use localhost. Moreover, the user-created in MySQL database is limited to run from the only localhost.
MySQL server           :      localhost
GLPI DB User           :      glpi_user
GLPI DB Password       :      *********
Proceed with Continue
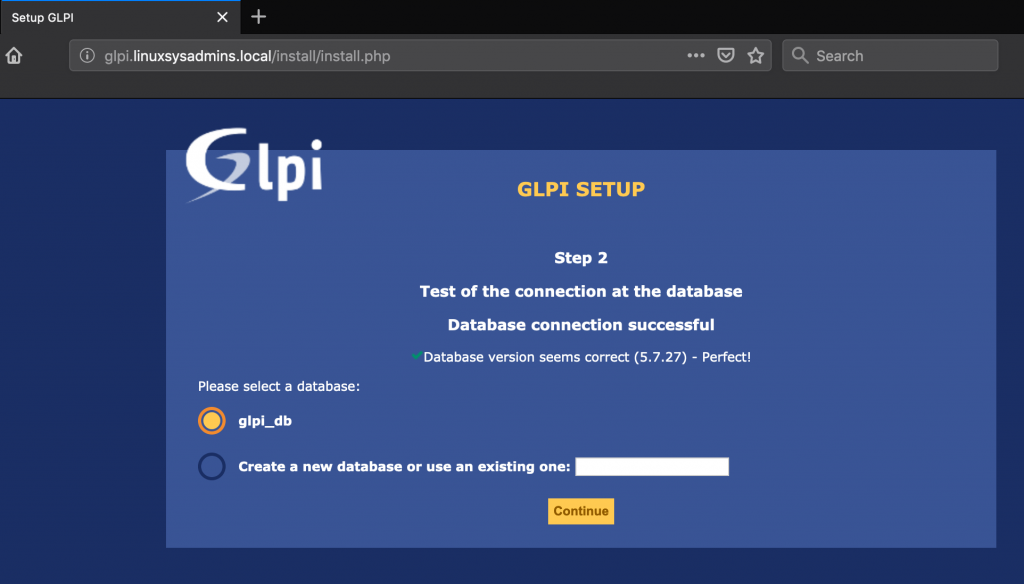
Choose the existing Database glpi_db from the list and Continue.
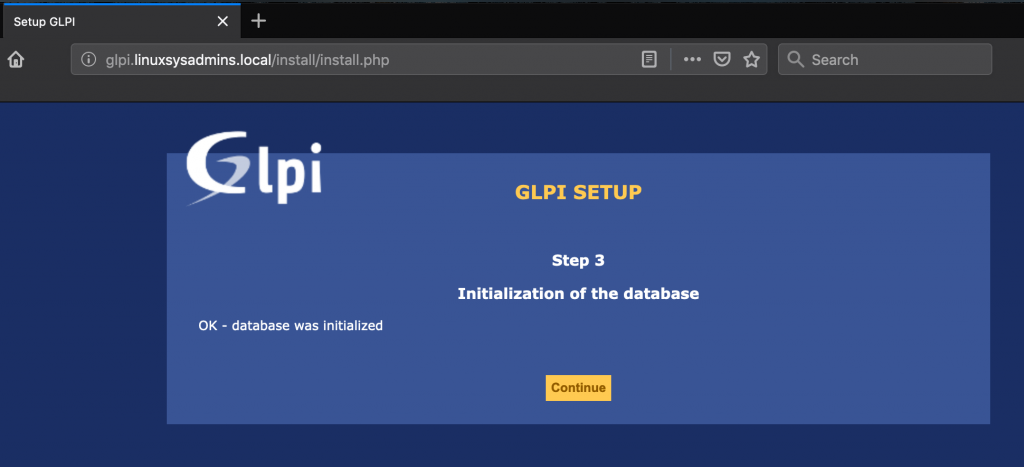
GLPI database will initialize it required setup, then Continue with the setup.
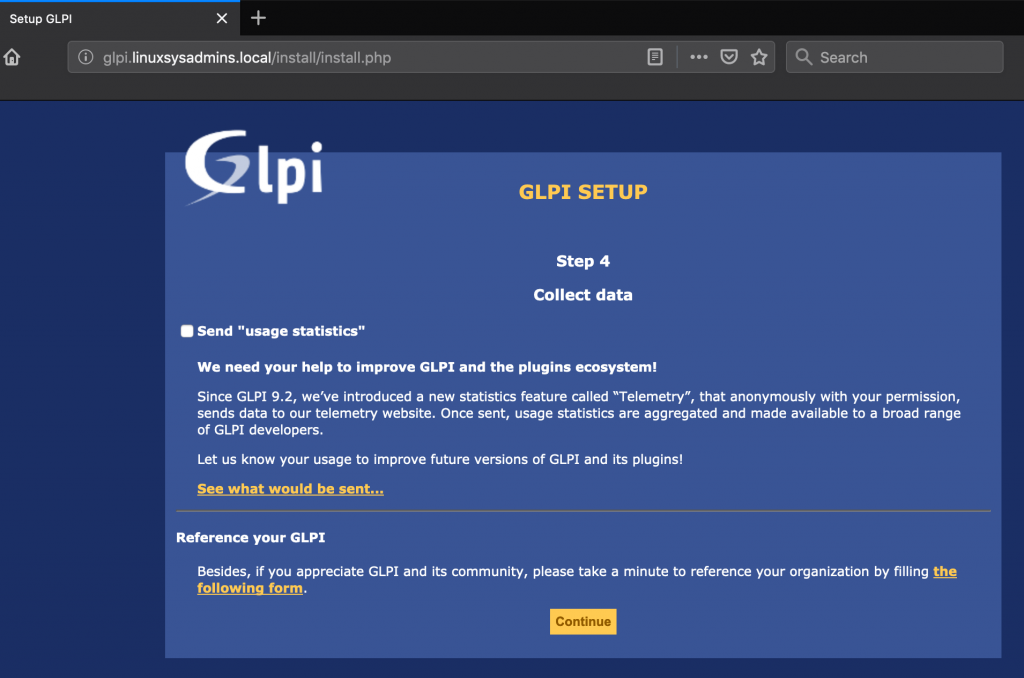
If you wish to send usage statics to GLPI you can choose, else uptick the option to stay anonymous and move forward.
Credentials of GLPI Asset Management
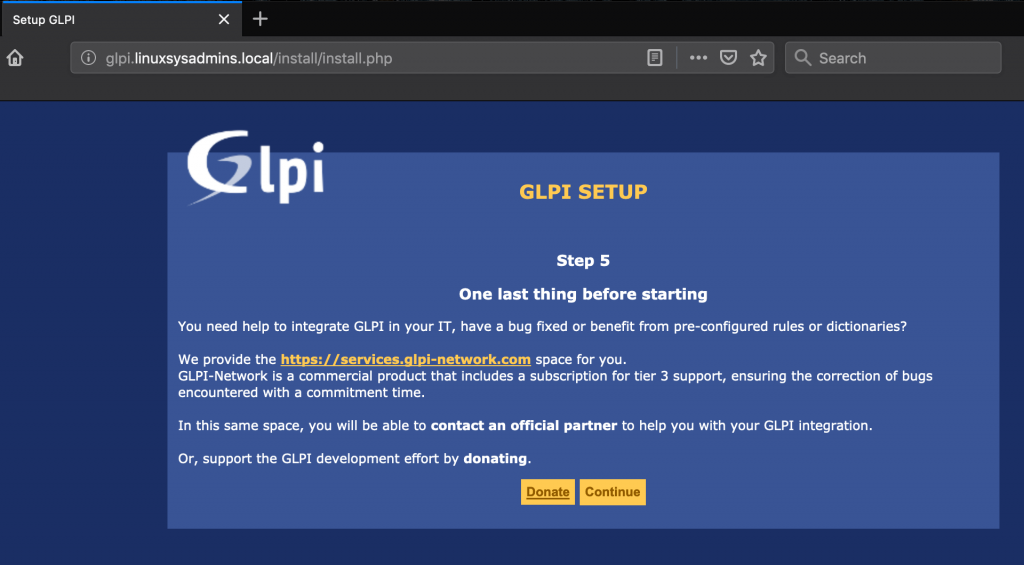
click “Use GLPI” to launch your login screen for the first time. Note down the credentials in this step.

It’s worth to go for a paid subscription or donate GLPI by supporting the team for this great tool.
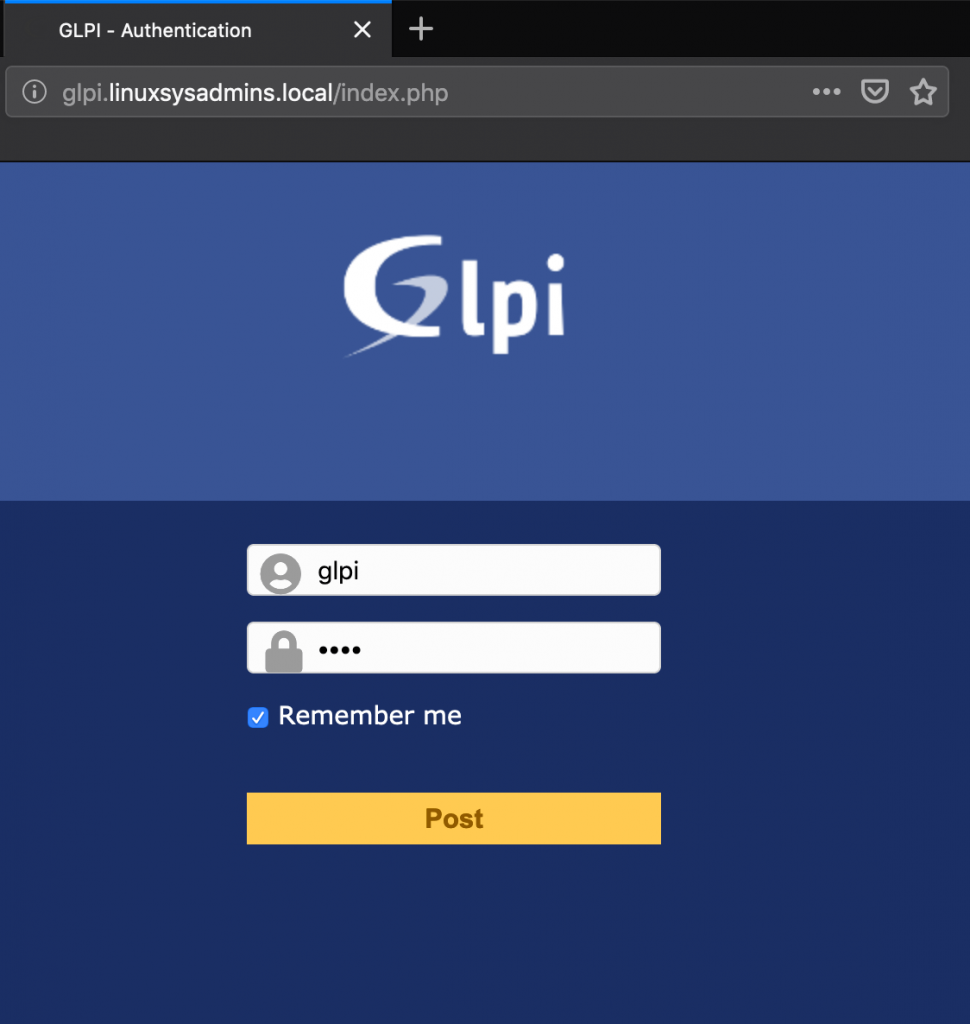
The first login screen looks below. Enter the default username to access the dashboard. The Default user credentials as follows.
| glpi | glpi | Admin account |
| tech | tech | Technical Account |
| normal | normal | Normal Account |
| post-only | postonly | Post only account |
Once you login the Dashboard will be empty and look like below.
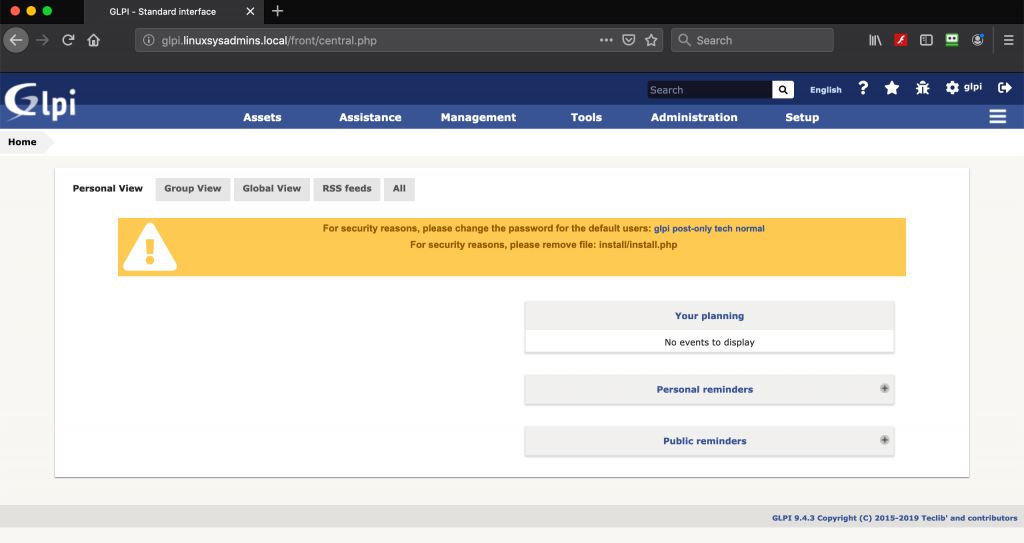
Consider changing the default admin account password once you are in.
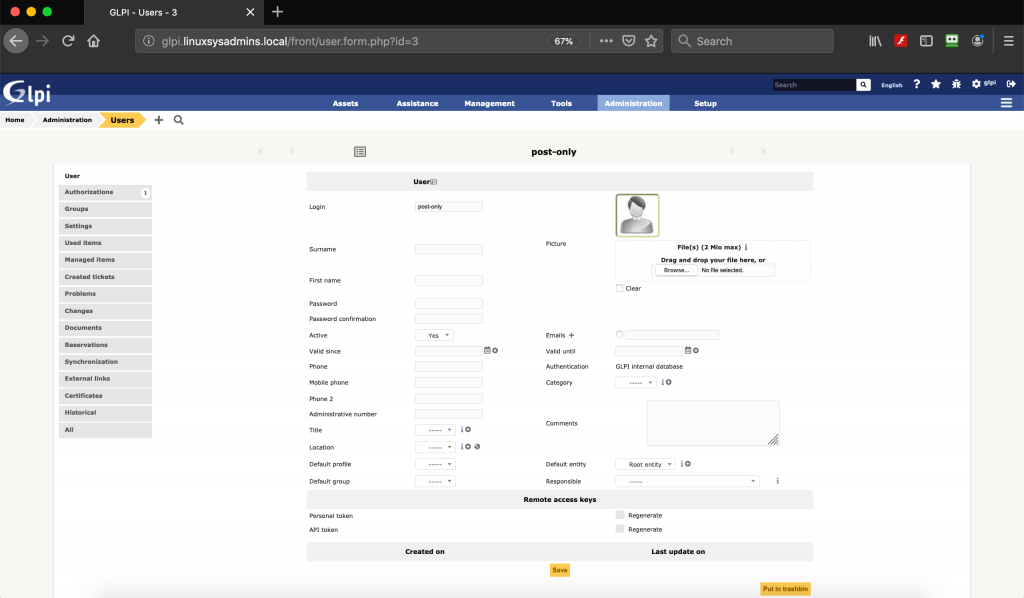
If you have skipped changing the password, later you can change the same by clicking on the gear icon in the right side and navigating to settings.

That’s it, we have completed with GLPI Asset Management Setup guide.
Conclusion
An Open Source production-ready asset management tool with most of the advanced features. Subscribe to our newsletter and stay tuned for more similar guides. Feedback’s are welcome through below comment section.
Great ! , thanks for such a wonderful stuff .