In this guide, we about see how to install with Debian Linux version 9 code name “Stretch”.
The Debian project came to the universe by August 16th 1993, and the initial release of Debian Linux came out by September 1993. It’s been 24 years Debian Linux providing a free open source solution for most of the platforms. Debian have moved from “SysV” to “systemd” from its version 8 Jessie. Most of the developers prefer to use with Debian Linux hence it provides with all required libraries and packages handy in three number of DVD around 13GB in size, It uses deb packages and Apt package manager. By following let see how to perform a fresh OS installation using Debian Linux ISO image file.
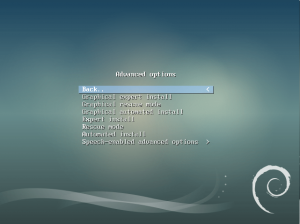
To start with the installation we boot our virtual machine using ISO file, At first, it will prompt with few options by highlighting the default “Graphical install” in “Debian Linux installer boot menu”. To continue with installation using graphical mode press enter, else navigate down to other available choices.
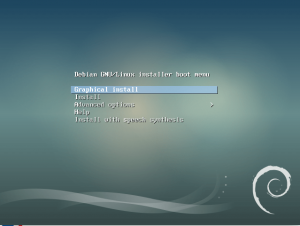
These are the available options during first boot.
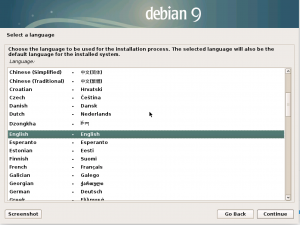
If you need to do an installation in your own language choose one from below. By default “English” will be selected click continue to choose your selection.
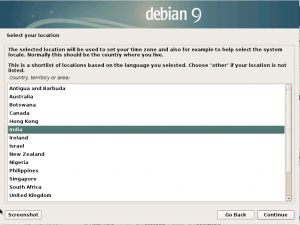
Select the location where server about to run. This will resolve automatically for “Timezone & Date” without manually choosing it, click continue to next window.
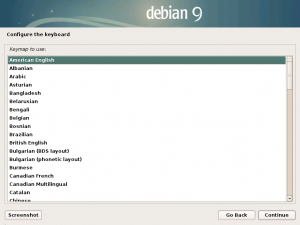
To select with keyboard layout choose your language. By default, it will be “American English”. As usually click continue with the installation.
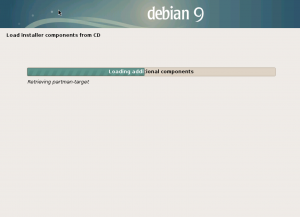
The install will start to copy the required installation files.
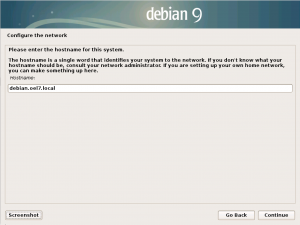
Manually assign with a hostname. Here we are using “debian.oel7.local” and click continue.
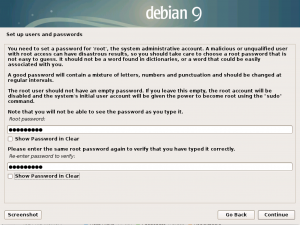
In the next window, we need to create with root user’s password. Make sure to use a complex password without including any dictionary words.
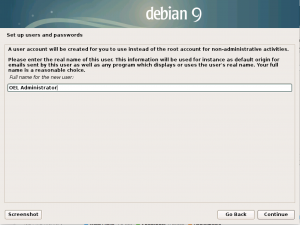
To perform any administrative activities it’s recommended not to use “root” user account, Instead, we need to create with a privileged account. In this step just provide with a name for the account.
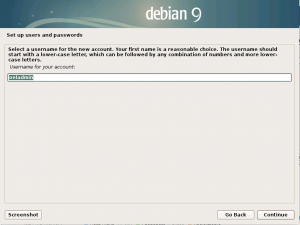
Username for the privileged account, Here we are using “oeladmin” as our administrative account’s username.
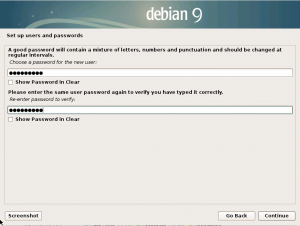
create with a strong password for the above-created username.
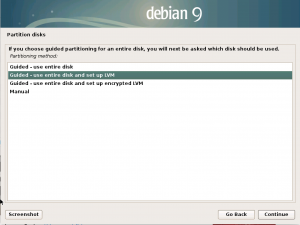
Define with partition where OS needs to be installed, Choose “Guided-use entire disk for setup LVM”.
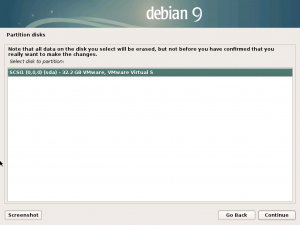
Select the disk to partition If we have more than one disk makes sure to select the first one and correct disk. All data on the disk you selected will be erased. And it will be removed only after we make changes.
Warning: All data will be destroyed once we confirm.
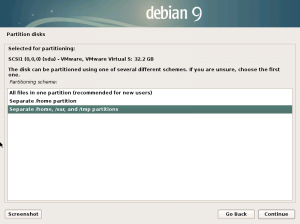
Select how the disk layout needs to be defined. We are about to use separate partitions using LVM for /home, /var, /tmp.
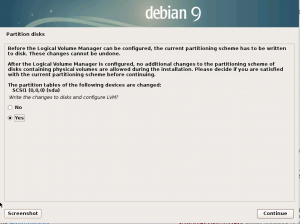
Confirm by selecting “Yes” to write the changes to disks and configure LVM.
Defined partition and file system will look as below.
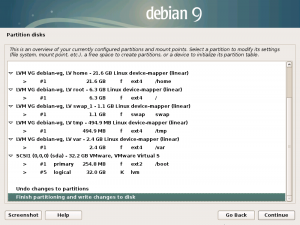
Once we select “Yes” and click “Continue” all the changes will be written.
Warning: All data will be destroyed once we click the continue.

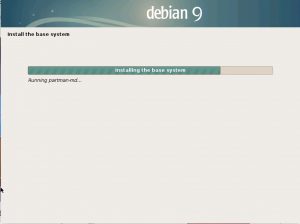
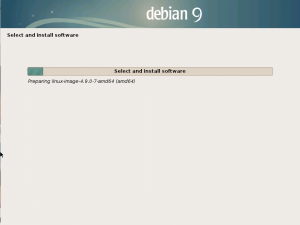
The installation will start by installing the base system.
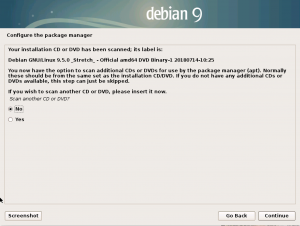
Adding additional packages using DVD2 and DVD3 are optional. In case installing with development system choose “Yes” and add with DVD2 and DVD3.
In our setup, we are following basic installation by choosing “No” to skip this step.
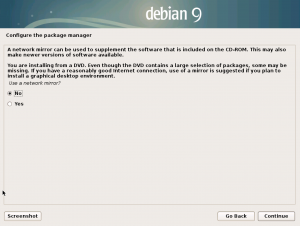
By following skip adding the “network mirror”.
Remaining packages will be installed by following.
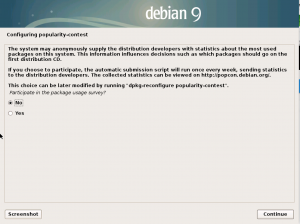
Select “No” if not wish to share statistics about usage of any package.
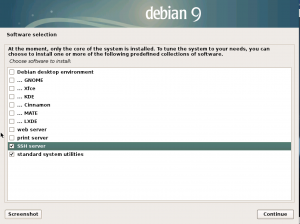
Continue to choose what type of server needs to be built by selecting from the list. In our setup, we selected with only SSH and basic standard utilities.
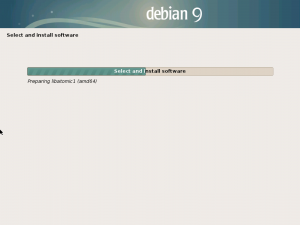
The installer will start with installing selected software.
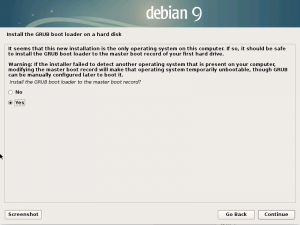
Once done with installation it’s time to install the GRUB boot loader to the master boot record.
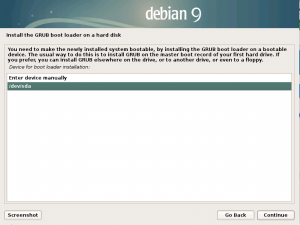
Select the disk where grub needs to be installed.
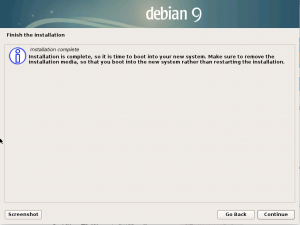
The installation has been completed, Click “Continue” to reboot.
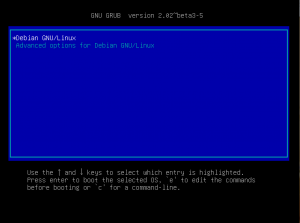
After installation GRUB menu will automatically boot into the installed operating system in five seconds.
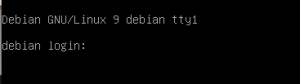
A freshly installed Debian 9 Linux server will look like below by prompting the user to login.
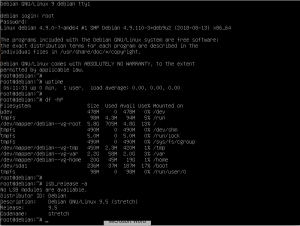
Running with few of common commands after the installation.
Official website URL
Click Here to get support.
To subscribe with mail listing
Click Here for downloading Debian
That’s it, We have completed with installing Debian 9 Linux server. In the future article, we will cover with basic settings for Debian Linux servers. you can provide your feedback by commenting in below comment section.